Incident Management Work Instructions in OrionX
Role
- Normal User: To submit
- ITIL Resolver: To resolve
This knowledge article will take you through the Incident Management process in OrionX for PayG users.
Who Can Create an Incident Record?
End Users and ITIL users can submit an incident record.
End Users will use the Employee Center Portal, whereas ITIL users can submit from ITIL page.
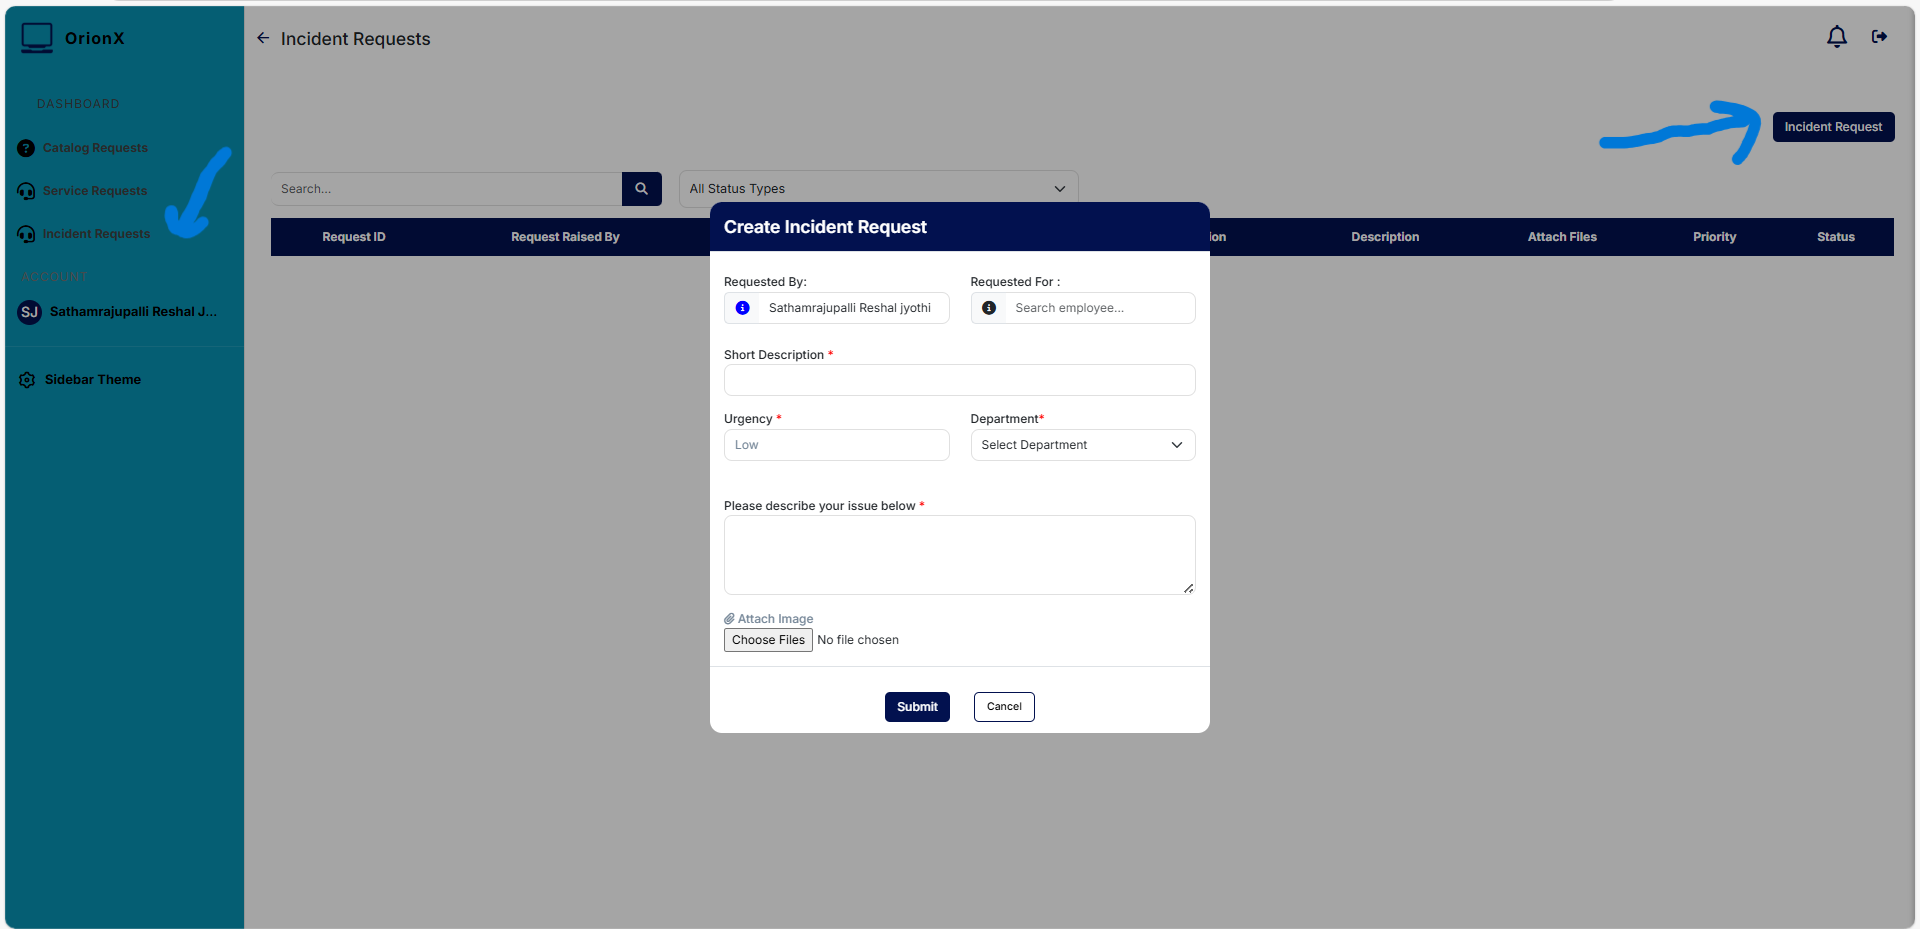
Submitting an Incident Ticket from Portal
From the portal menu items, select:
More > Create Incident
Fill the details in the form and make sure to provide maximum details. Make use of attachments when required.
Based on the Department you select, the incident ticket will be automatically routed to the appropriate Support Team.
Note: If you don’t select any department, the ticket will be routed to the Service Desk.
After you fill in all the details and attach the files, click Submit.
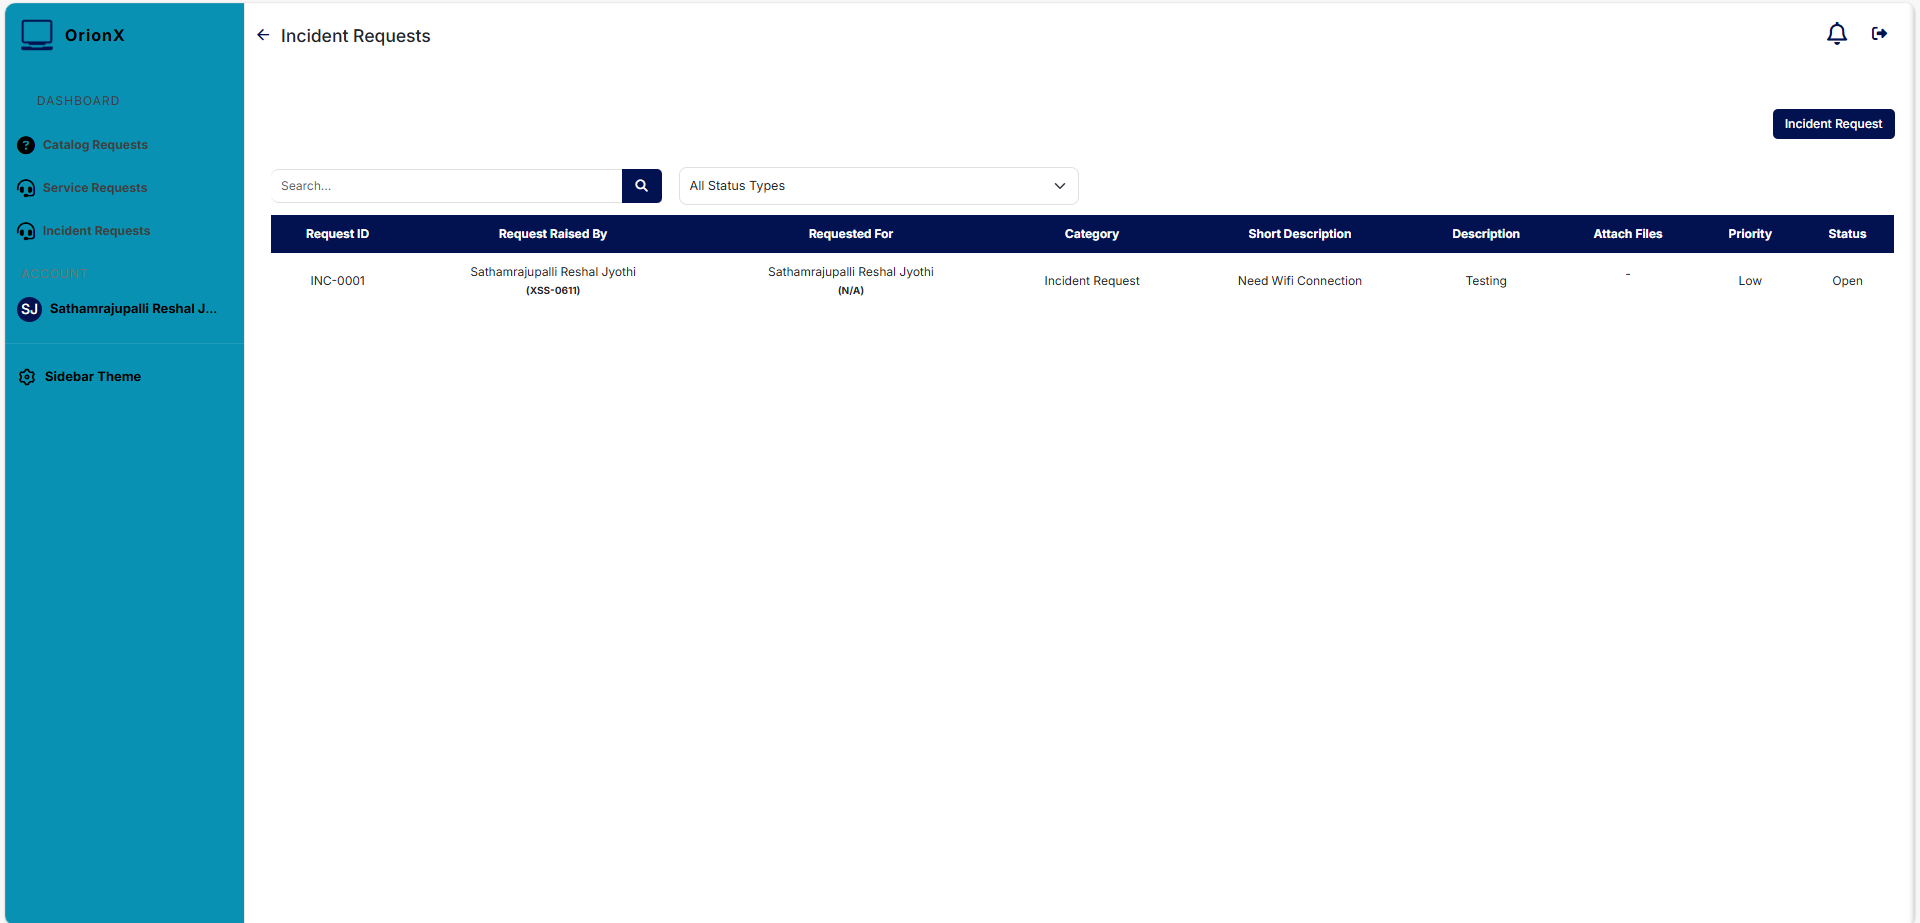
You will be provided with a unique Incident ID Number. Keep it for your reference.
You will also receive an Email Notification along with ticket ID.
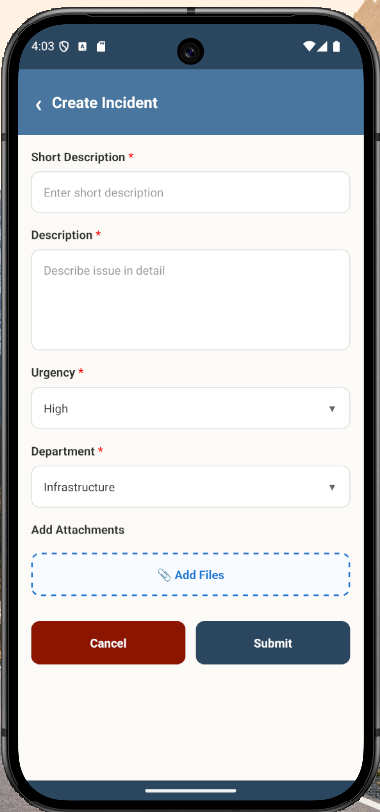
Check with mobile screen
Categorization and Prioritization of Incident Ticket (Resolvers)
The assignment group to which an incident is assigned will receive an email notification.
They will also be able to see the ticket details in their ITIL dashboard.
Follow the steps to work on ticket:
- Click on Ticket ID to open the incident ticket.
- Review & update details such as Impact, Urgency, CI, Category & Sub-category.
- Reassign the incident to another team if required.
- If incident is correctly assigned, own the ticket by filling your name in Assigned To field.
- Review other details and save the ticket.
Updating Categorization Example
Work Notes (Resolvers)
Communication is an important part of Incident Management.
All observations and results should be captured in Work Notes.
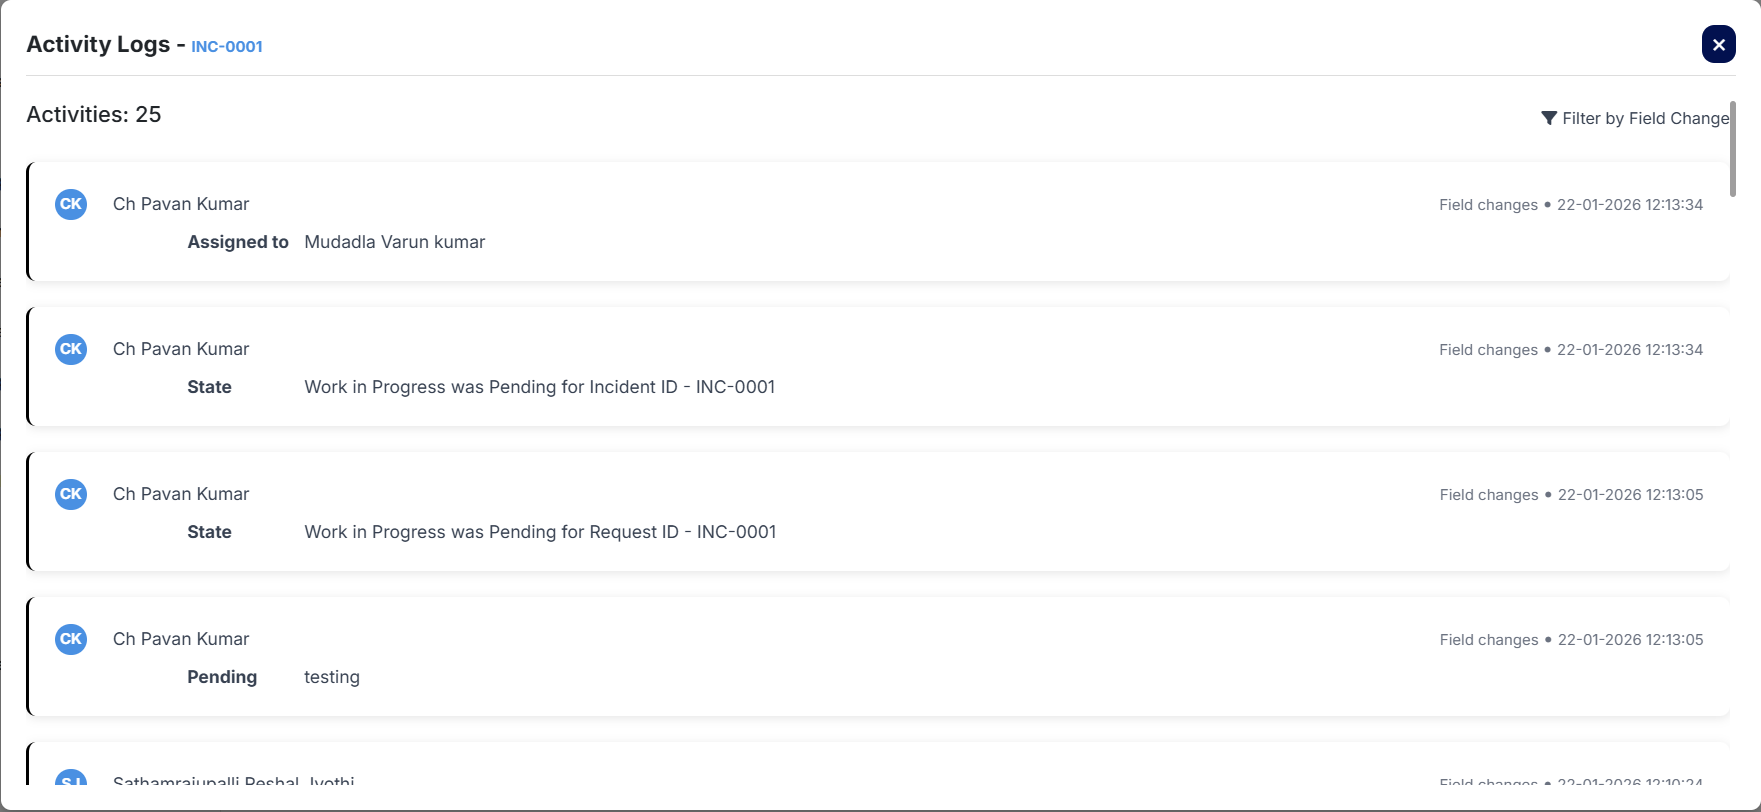
Note: Work Notes are internal communication and not visible to the requester.
Status Updates
Sometimes if you are waiting for requester / vendor / stakeholder response,
you may change ticket status to On Hold.
Once feedback is received, change status back to In Progress and continue work.
Resolution and Closure (Resolver)
Once the user confirms the issue has been resolved, update the ticket status to Resolved.
Provide Resolution Category and Description, attach supporting documents if needed, then submit.
If requester is dissatisfied, ticket status will return to In Progress.
Escalation Matrix
| Priority Level | First Escalation | Second Escalation | Final Escalation |
|---|---|---|---|
| P1 – Critical | IT Support Manager | Incident Manager | CTO |
| P2 – High | IT Support Team Lead | IT Support Manager | Incident Manager |
| P3 – Medium | IT Support Team | IT Support Lead | IT Support Manager |
| P4 – Low | IT Support Team | IT Support Lead | IT Support Manager |
Escalation helps ensure timely resolution within defined SLAs.
Service Level Agreements (SLAs)
Resolution SLAs for Incidents
| Priority Level | Resolution Time |
|---|---|
| P1 – Critical | 2 Hours |
| P2 – High | 4 Hours |
| P3 – Medium | 9 Hours |
| P4 – Low | 18 Hours |
Response SLAs for Incidents
| Priority Level | Response Time |
|---|---|
| P1 – Critical | 15 Minutes |
| P2 – High | 30 Minutes |
| P3 – Medium | 45 Minutes |
| P4 – Low | 1 Hour |
End of Article
For additional ITSM process guides, please refer to other articles in the Information Technology section.